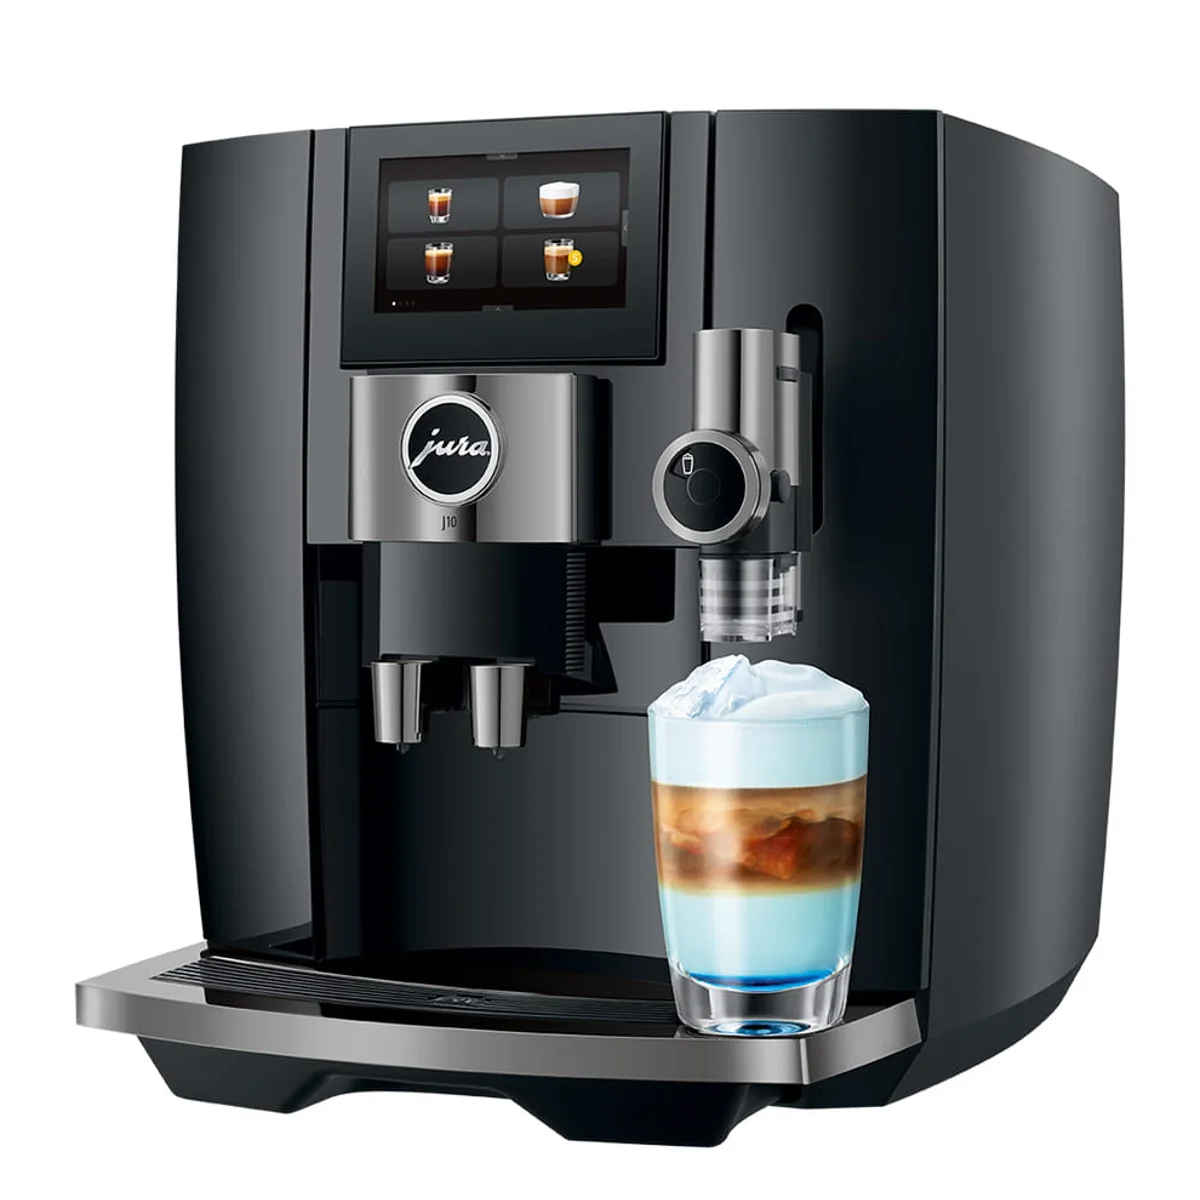
 15664
15664Exact-model fault guide · updated 17 August 2026
JURA J10 troubleshooting guide
Not dispensing, flashing, leaking, running cold or making poor coffee? Use this symptom-led guide for the exact 15664. Start with the two-minute safe checks, change one thing at a time and know when the fault belongs with JURA or an authorised repairer.
Jump to the likely answer
What is your J10 doing?
Choose the closest symptom. Start with the first check, then stop if the page reaches a service boundary.
Two-minute triage
Check the basics before changing settings.
- 01Stop for danger
Unplug only when safe if there is burning, smoke, electrical tripping, internal steam or water near electrics.
- 02Capture the evidence
Write down the complete message or light pattern and confirm the exact 15664 model code.
- 03Seat the removable parts
Check fresh water, tank, tray and only the user-removable coffee or milk parts shown in the manual.
- 04Run one safe test
Use the official water-only rinse or equivalent check, then change one variable—not five—before retesting.
Stop before diagnosis
Do not continue if you see smoke, smell burning, find a damaged cable, trip the breaker, see water near electrical parts, hear abnormal pressure noise or see steam escaping from inside the case. Switch off and unplug when safe, move away and use JURA support or a qualified repairer.
Symptom
The machine will not start or finish heating
A loose tank, tray, brew unit, hopper or head can prevent the normal start-up check. The outlet, socket or protection device may also be at fault.
Safe checks, in order
- 1
Switch off, wait for hot parts to cool and re-seat only the user-removable tank, tray, hopper or brew unit shown in the manual.
- 2
Test the wall socket with another low-risk appliance and inspect the visible cable without dismantling the machine.
- 3
Record the exact light pattern, screen message and point at which heat-up stops.
Resolved when
The normal ready indication appears and the machine completes its rinse or heat-up without a warning.
Arrange service when
The cable is damaged, the breaker trips, there is a burning smell, the case becomes abnormally hot or heat-up repeatedly fails.
Symptom
No coffee or very slow flow
An empty tank, interrupted care cycle, blocked accessible outlet, grind setting, brew-group position or internal fault can reduce flow.
Safe checks, in order
- 1
Confirm the tank contains fresh water and is fully seated, then run the manual's water-only rinse or hot-water check.
- 2
Check the display for a rinse, grounds-container, brew-unit, filter or descale instruction and complete that exact workflow.
- 3
Clean only removable filters, baskets, spouts or milk parts by the exact-model instructions; do not probe internal valves.
Resolved when
Water-only flow is even, the warning clears and a correctly prepared drink reaches its expected volume.
Arrange service when
There is still no water-only flow, the pump sounds abnormal, the same error returns, or water appears inside or beneath the case.
Symptom
Coffee is weak, sour, bitter or inconsistent
Bean age, roast, strength setting, grind, recipe volume, temperature and a dirty brew path all affect the cup.
Safe checks, in order
- 1
Use fresh beans and hold dose and drink size constant while changing only one variable at a time.
- 2
Confirm the selected strength, volume and temperature rather than relying on a saved profile you did not create.
- 3
Use fresh water and complete any due coffee-oil cleaning or manufacturer-led rinse before judging the next cup.
Resolved when
Two or three consecutive drinks reach a repeatable volume and taste after a single controlled adjustment.
Arrange service when
Temperature is clearly abnormal, the grinder changes sound, the machine cannot repeat a programmed volume or taste stays contaminated after official cleaning.
Symptom
Coffee is not hot enough or the temperature changes between drinks
An unheated cup, incomplete warm-up, saved temperature setting, scale build-up or a heating fault can all make drinks cooler than expected.
Safe checks, in order
- 1
Let the 15664 reach its normal ready state and preheat the cup with hot water; do not judge temperature from the first seconds of start-up.
- 2
Check the active user profile, drink temperature and volume settings before making a second identical drink.
- 3
If the result is still clearly abnormal, complete only the due official rinse or descale programme and record the drink setting and repeatable symptom for support.
Resolved when
Two identical drinks reach a repeatable, comfortable serving temperature after full warm-up and the same settings.
Arrange service when
The machine never reaches ready, water stays lukewarm, temperature changes sharply between identical drinks, or a heater warning appears.
Symptom
The grinder runs but little or no coffee is delivered
An unlocked hopper, oily beans, a grind set too fine, compacted grounds or a blocked dry outlet can stop normal feeding.
Safe checks, in order
- 1
Stop the machine and follow the manual before removing the hopper; keep fingers and tools away from moving burrs.
- 2
Confirm the hopper is locked and contains dry beans, then inspect only the approved, user-accessible outlet.
- 3
Brush loose grounds away dry. Change the grind in one-step increments and only while the grinder is operating if the exact manual says to do so.
Resolved when
The grinder delivers a repeatable dose without unusual noise or repeated correction messages.
Arrange service when
The burrs stall, scrape or make a new harsh sound, a foreign object is suspected, or the motor runs without delivery after the approved dry clean.
Symptom
The milk system produces little foam, large bubbles or stops
Dried milk, incorrect assembly, an air leak, wrong programme or blocked accessible milk path can reduce suction and texture.
Safe checks, in order
- 1
Let hot parts cool, then wipe the wand or dismantle only the removable milk parts shown in the manual.
- 2
Reassemble the carafe, hose, lid and selector against the exact diagram, then run the named milk-clean programme.
- 3
Test with fresh cold milk or the selected alternative milk and the correct milk or texture setting.
Resolved when
Steam or milk flow is steady, the automatic cycle finishes and the texture is repeatable with clean parts.
Arrange service when
Steam escapes inside the case, a hose or seal is damaged, the wand will not heat, or performance remains weak after the official milk clean.
Symptom
Water is in the drip tray, under the machine or around the group
Rinse and purge water in the tray can be normal. An overfilled tray, poorly seated tank, worn accessible seal, blocked drain path or internal leak is not.
Safe checks, in order
- 1
Empty, clean and dry the tray and surrounding counter so the next water source can be identified.
- 2
Re-seat the filled tank and its accessible valve area without forcing it; confirm the tray is level and fully home.
- 3
Run only a short water rinse while watching from a safe distance; do not remove panels to trace internal water.
Resolved when
Water is confined to the expected tray or rinse outlet and no moisture returns beneath the case.
Arrange service when
Water reaches the cable or electrical area, pools beneath the case, appears during heat-up, or returns after the tank and tray are correctly seated.
Symptom
A cleaning, filter, tray or brew-unit message will not clear
The named cycle may be incomplete, the tank may have run low, a part may be mis-seated or the machine may require the exact order described by the manufacturer.
Safe checks, in order
- 1
Write down the complete message before switching anything off.
- 2
Refill the tank, empty the tray and grounds container, then re-seat only removable parts after the machine has completed normal shutdown.
- 3
Repeat only the official workflow from the beginning. Do not add a second dose of chemical unless the exact instructions explicitly require it.
Resolved when
The machine completes every rinse stage, returns to ready and the message does not reappear after the next drink.
Arrange service when
The same message returns immediately, a removable part cannot be fitted without force, or a care programme repeatedly stops at the same point.
Model-specific checks
What is particular to the J10.
- The J10 brew unit is sealed. Use the displayed automatic programme and JURA-approved products; never remove panels to reach the brew group.
- Cold Extraction and Sweet Foam depend on the selected recipe and correctly cleaned milk path. Confirm the recipe before assuming a heating or cooling fault.
Repair decision
A home check should stay outside the case.
These pages help separate preparation and routine care from faults that need the manufacturer or a qualified repairer.
Clean, re-seat, rinse and retest.
Tanks, trays, baskets, approved brew groups and removable milk parts can be checked only as the 15664 manual allows.
Heat, pressure, electrics and internal leaks.
Do not remove panels, bypass switches, open boilers, reach into grinders or force a part that should move freely.
Before contacting support
Record the fault so JURA can act faster.
- Quote the exact 15664 model code and the complete light pattern, message or error code.
- Note which stage failed: start-up, grinding, brewing, milk, rinse, cleaning or descaling.
- Record when the machine last worked normally and the most recent filter, clean or descale date.
- Photograph a visible leak or message from a safe distance, without removing covers or touching hot parts.
Quick answers
J10 troubleshooting FAQ.
Short answers for search, followed by the safety boundary that matters.
Why is my JURA J10 not dispensing coffee?
First check that the 15664 water tank is full and seated, then use the official water-only rinse. If water flows without a drink selected, check the removable coffee path and preparation. If no water flows or water leaks beneath the case, stop and arrange service.
Why are the lights flashing or an error message showing on my J10?
Record the exact colour, flash pattern or complete message before restarting the 15664. First confirm the tank, tray, grounds container, brew path and any guided care cycle. Use the exact official meaning rather than a reset sequence from another model.
Can I reset the J10 to clear an error?
Only use the reset sequence in the current 15664 manual or its on-screen workflow. A reset can remove saved drinks or settings and will not repair a leak, heater, pump, grinder or electrical fault. Record the original message first.
Why is my J10 coffee not hot enough?
Let the 15664 reach its normal ready state, preheat the cup and repeat the same drink with the same volume and temperature setting. If water remains lukewarm after full warm-up, or a heater warning appears, stop repeating cycles and contact JURA support.
Should I descale the J10 when coffee runs slowly?
Not automatically. First separate a blocked basket, capsule outlet, spout or grind problem from a water-flow problem. Descale only when the 15664 prompt, water-hardness schedule or official instructions call for it, using a compatible product and the complete rinse sequence.
Is water in the J10 drip tray normal?
Some rinse, purge or pressure-release water in the tray can be normal. Empty and dry the tray and counter, then watch one short cycle. Water beneath the case, near the cable, during heat-up or returning after the tank and tray are correctly seated is not normal and needs service.
When should I stop troubleshooting the J10?
Stop immediately for smoke, a burning smell, a damaged cable, repeated breaker trips, water near electrics, steam from inside the case or abnormal pressure noise. Also stop when a user-removable part will not move without force or an official cycle repeatedly fails.
What should I tell JURA support about the J10?
Give them the exact 15664 code, serial number if requested, complete light pattern or message, the stage that fails, the last successful use and the most recent clean, filter or descale date. A short photo or video taken from a safe distance can make an intermittent fault easier to identify.
Only if repair no longer makes sense
Check the exact 15664 before replacing it.
Finish the safe checks and use official support first. If the machine is beyond economical repair, this labelled route keeps the model code explicit instead of dropping you into a generic coffee-machine list.
Review dated price evidence →Search exact model on Amazon UK ↗Affiliate link. Confirm seller, variant, warranty, stock and checkout price.
Exact product source
JURA 15664
Use the exact model code when checking lights, messages, parts and reset instructions.
Open exact-model source ↗Official support route
JURA J10 official product and maintenance source
The current manual or manufacturer support route takes priority over any general owner check.
Open manufacturer support ↗Editorial boundary
Desk research, not a repair manual
Home Coffee Index has not opened or electrically tested this machine. We keep uncertainty and service boundaries explicit.
Read the sourcing policy →Keep ownership simple
Prevent the repeat fault.
Once the symptom is resolved, use the exact-model maintenance plan for milk paths, coffee oils, filters and limescale—or check your water hardness before changing the descale schedule.